

Building your own computer can seem like a daunting task, but with the right guidance, it’s an exciting and rewarding experience. Whether you’re looking to create a powerful gaming rig, a high-performance workstation, or a simple home office PC, this guide will walk you through each step of the process.
1. Set Your Goals and Budget
Before you start buying components, it’s crucial to determine what you want your computer to do and how much you’re willing to spend. Are you building a gaming PC, a video editing workstation, or just a basic desktop for browsing the web? Your goals will dictate the kind of components you need and how much you’ll spend.
2. Choose the Right Components
Here’s a list of the key components you’ll need to build your computer:
- Central Processing Unit (CPU): The brain of your computer. Choose one that fits your performance needs and budget.
- Motherboard: This is where all your components will connect. Ensure it’s compatible with your CPU and has the features you need.
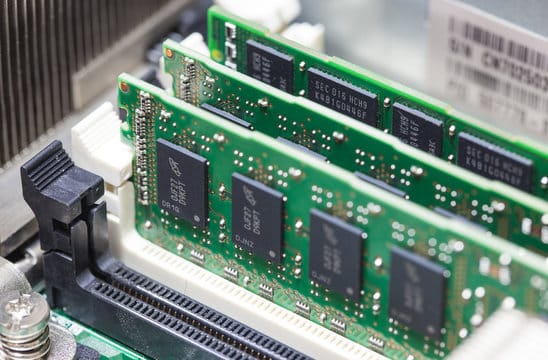
- Memory (RAM): RAM is crucial for multitasking. 8GB is the minimum, but 16GB or more is recommended for gaming or heavy tasks.
- Storage (SSD/HDD): SSDs are faster and more reliable than HDDs. A combination of both can offer speed and ample storage space.
- Graphics Processing Unit (GPU): If you’re gaming or working with graphics-intensive applications, a dedicated GPU is essential.
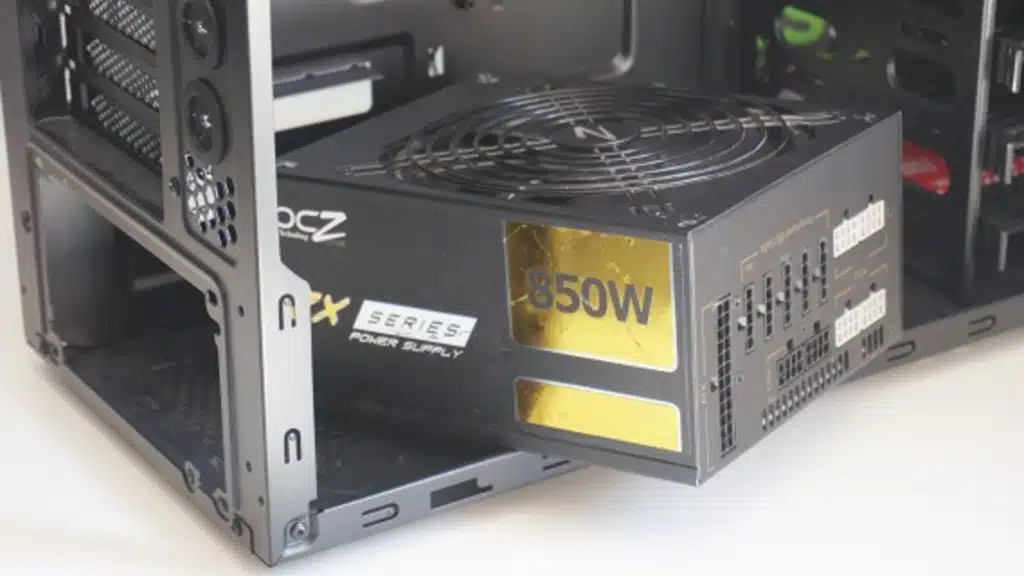
- Power Supply Unit (PSU): Ensure your PSU provides enough wattage for all your components and has good efficiency ratings.
- Case: Choose a case that fits your components and has good airflow to keep your system cool.
- Cooling System: Depending on your CPU and GPU, you may need additional cooling beyond stock fans, like liquid coolers or additional case fans.
- Operating System (OS): Don’t forget to budget for your operating system, such as Windows, macOS (for Hackintosh builds), or a Linux distribution.
3. Assemble Your Tools
Before you start building, gather the tools you’ll need:
- Screwdriver: A magnetic Phillips-head screwdriver is your best friend when building a PC.
- Anti-static Wrist Strap: This prevents static electricity from damaging sensitive components.
- Thermal Paste: Most CPUs come with thermal paste pre-applied, but if not, you’ll need a small amount for your CPU cooler.
- Cable Ties: These help manage cables inside your case for better airflow and a cleaner look.
4. Prepare Your Workspace
Find a clean, flat, and well-lit area to build your computer. Ensure you’re working on a non-static surface, and if possible, wear an anti-static wrist strap to prevent electrostatic discharge (ESD) from damaging your components.
Also read: How to check computer specs in windows 11
5. Install the CPU and RAM on the Motherboard
Start by installing the CPU into the motherboard’s CPU socket. Be gentle and align the CPU correctly—most have a triangle or mark that matches the socket. Next, install your RAM sticks into the appropriate slots, usually the first and third or second and fourth slots for dual-channel operation.
6. Mount the Motherboard in the Case
Place the motherboard inside the case and align it with the standoffs. Secure it with screws, ensuring all ports and connections are accessible.
7. Install the Power Supply (PSU)
Mount the PSU in the designated spot in your case, usually at the bottom or top rear. Make sure the fan faces the correct direction for proper ventilation. Connect the necessary power cables to your motherboard, CPU, and GPU.
8. Install Storage and Optical Drives
Install your SSD or HDD into the drive bays. Connect them to the motherboard using SATA cables. If you’re using an M.2 SSD, install it directly onto the motherboard.
9. Install the GPU and Additional Components
If you have a dedicated GPU, install it in the PCIe slot on the motherboard. Secure it with screws to the case. Also, install any additional components like a Wi-Fi card or extra cooling fans.
10. Cable Management
Organize and route all your cables neatly to ensure proper airflow and a clean look. Use cable ties to bundle cables together and avoid obstructing fans or air vents.
11. Power On and Install the Operating System
Double-check all your connections and screws before powering on your computer. If everything is connected correctly, your system should boot up. Insert your OS installation media (USB drive or DVD), and follow the on-screen instructions to install your operating system.
12. Install Drivers and Software
Once your OS is installed, download and install the necessary drivers for your components, starting with the motherboard, GPU, and any additional hardware. After that, install your preferred software, like web browsers, games, or productivity tools.
Conclusion
Building a computer is a rewarding project that allows you to customize every aspect of your machine. By following this step-by-step guide, you can build a computer tailored to your needs, whether for gaming, work, or general use. Remember, patience is key—take your time, follow the instructions carefully, and soon you’ll have a powerful new computer that you built with your own hands.


